11/24/2009

Under the Sea

Here's another quilt, called 'Under the Sea' (I know, creative, right, RIGHT?!), I made for another of my husband's dance colleagues. The mom is really into to mermaids, so when I saw Heather Ross's 'Mendocino' line in my internet travels, I knew I had to make a quilt for her from it. I actually order a set of fat quarters of the line. Later we learned she was having a boy, which had me a bit worried. Now, I'm just about the last person to buy in to the blue is for boys / pink is for girls thing. But, I realize I'm probably in the minority there, and the pink mermaids might be just too much for most people to take in a boy's quilt. Fortunately I had a lot of yellows, oranges, and browns to work with along with a little blue. I got some more blues from Tula Pink's Neptune. The best part is I still have ton of the the pinks leftover!

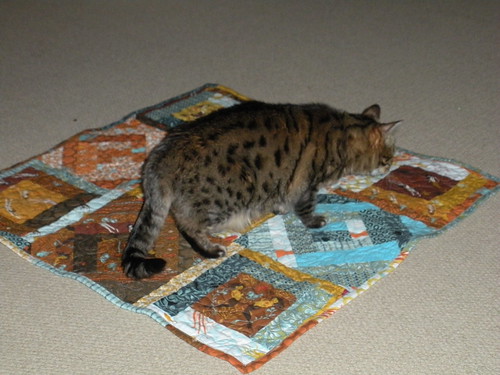
I was shooting for about 36 inches by 36 inches, which I read somewhere was a good swaddling blanket size. I knew I wanted to show of the mermaid prints, so I fussy cut 5 squares from of the mermaid prints. I knew then I could do 9 blocks, using the mermaids in the 4 corners and the center. I 'adapted' the scrappy hedgerow block from Oh Fransson.

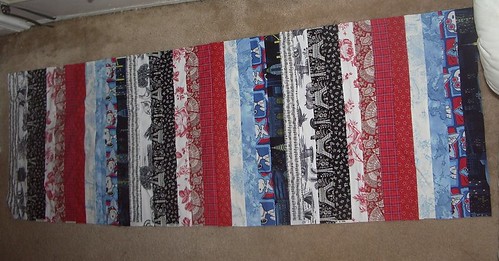
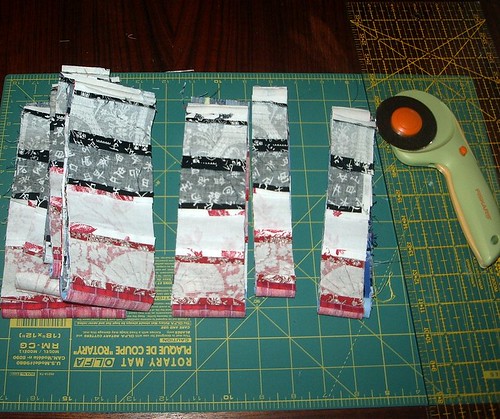
I say adapted, which I think is fair since my center was going to be different size, so I knew I couldn't use the same measurements. But, I made a bone-headed math error when figuring how wide to make the 'rows' to end up at the finished block size I wanted. So, my blocks don't have as many rows either. Which, again, is just as well, because I would have had to uses strips about half as wide, which probably would have looked weird.

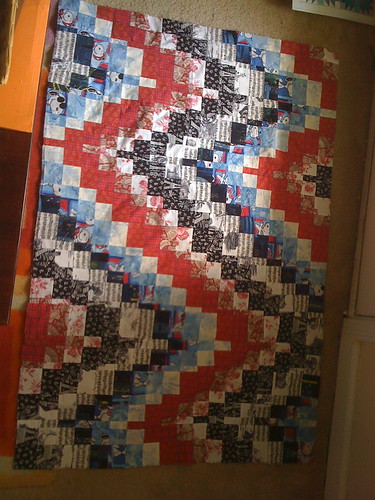
For the remaining four blocks I decided to go with a log-cabin pattern, but turned to a diamond. I did one in each of the four main colors: orange, blue, brown, and yellow.

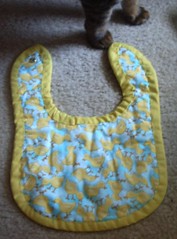
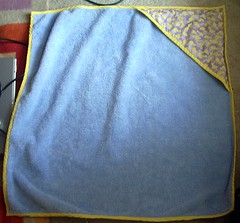
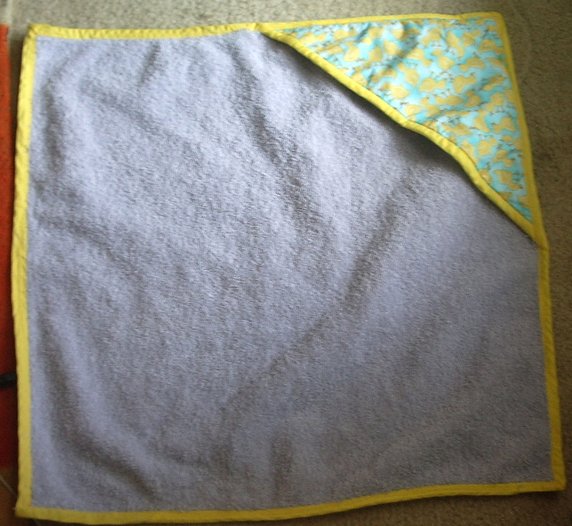
The quilting was free-motion in a random pattern, maybe it counts a stippling, maybe not. It seems a lot of people try to avoid intersecting when stippling. But, as this was my first time free-motion machine quilting, that was a bit much for me. The binding was leftover strips, so it's not a bias binding. The backing is a large piece from Neptune. Without further ado:


We were staying at my parents' house when I did the quilting and binding on this quilt. Fortunately, it passed muster with the boss of the house, Missy. I hope the final recipients like it too:


11/22/2009

Finished Quilt

Here it is: the finished quilt, called 'International Bargello!'

For the backing of the bargello quilt, I had some extra from the top (from when I cut down the size) so I used that in a stripe. The rest is just a solid black. The binding is a red, white, and blue stripe cut on the bias. I think it turned out pretty cute. I didn't realize how much it would look like the old air mail border, but I think that actually works well with the quilt's international theme. The quilting is free-motion spirals. I used white thread. This was my second time machine quilting. I post about the first machine quilting project next, but until then, here is the finished quilt:


And the back :


11/21/2009

More of the Bargello Quilt In Progress

Here are some more shots of the bargello quilt (for my nephew) in progress:


I originally planned to make a 45 inch by 60 inch, crib size, quilt, but that wasn't a very carefully planned plan. Eventually I found that I wasn't going to have enough strips of some of the red fabrics to make it to that size (some of the reds were fat quaters, most of the rest were full yards) and I couldn't find anymore of those prints. So, I decided to rip it in to two 30 inch long piece those halves together. The finished top eventually measured about 30 inches by 45 inches. I think that size is better for a little guy to tote around anyway.

Here's the finished top:

11/18/2009

A Quilt

I made a quilt for my nephew's birthday, which was over two months ago now. I finally completed it yesterday. I started hoarding fabrics for it before he was born. I had some grand crazy plan for an abstract quilt with a lot of applique work. Eventually, I came to my senses and decided that quilt was never going to get made. A lot of the fabrics I bought to reflect the many places his parent have traveled to and lived: New York, Paris, Bali, Japan, etc. I decided to use some of them in a quilt top using a technique for a Bargello quilt I learned in this book. I did one of these one before for my husband years ago when we were in college. Without further ado here are some pictures of it in progress:


11/16/2009

More Bibs! Tap Shoes & Star


Here are more bibs I made for one of the dancers my husband works with. So naturally, I made a bib with tap shoes:


And a star:


For the star bib, I made my own bias binding out of the same fabric as the star. For these I used two separate piece of bias binding so I could leave the pieces on the neck part of the bib long so they could be used as ties. I think I prefer that to the snaps. For all of these bibs I used cloth diaper. I had read somewhere (again it was a while ago, and don't remember where it was) a tutorial suggesting them as a material to make burp cloths since they're so absorbent. I figured the same principle could apply to bibs, when they're being used to absorb baby-drool.


Updated (11/16): Found the link to the post with the cloth diaper/burp cloth idea. It's from the same blog as the original bib pattern. That's funny since it's not one of the sites I check out regularly. Clearly, I'll have to visit there more often.

11/15/2009

Leaf Bib

Here's another bib I made for my nephew. I modified it from the Duckie Bib: straightened the side and tried to use a curve similar to the bottom curve in the part around the neck, since the binding came out more smooth on that part. (But I've found it's just easier on those convex curves!) I forgot to take a picture of the finished product before giving it away, but here it is just without the binding (I think I ended up going with a dark grey solid):


And the back:

11/14/2009

Duckie Bib

This is a bib I made to go with the baby towels from below. Rocky was quite interested in it. I found the pattern somewhere on the internet, but it was so long ago now, I can't remember where. I've made a few more since then, but I've adapted the pattern. I'll be posting those soon. The front:


And the back:


Updated (11/16): My husband found the link for the pattern here. The first hit when you google "bib pattern." Imagine that! I used double-fold bias tape to finish it rather than sewing the pieces right-sides together and turning them out. Also, as I mention in the tap-shoe bib post, I used a cloth diaper for the front for absorbency.

11/11/2009

I'm Back! and Hoodie Baby Towels

I'm resuscitating the blog. To start off here are some hooded baby towels I made for a friend's new baby several months back: